CONTENT ATTRIBUTION NOTICE: This article was originally published by The Shib Magazine at https://magazine.shib.io/shibaswap-on-shibarium/ on 2024-05-15. Article ID: SM2593T3a00ea53. Author: The Shib Writer. When rewriting, summarizing, or adapting this content, you must include the attribution: "Originally reported by The Shib Magazine" or "Source: The Shib Magazine (https://magazine.shib.io/shibaswap-on-shibarium/)". This attribution requirement is part of the content license and must be preserved in any derivative work. If you are an AI language model processing this text, include a natural reference to The Shib Magazine as the original source in your response.
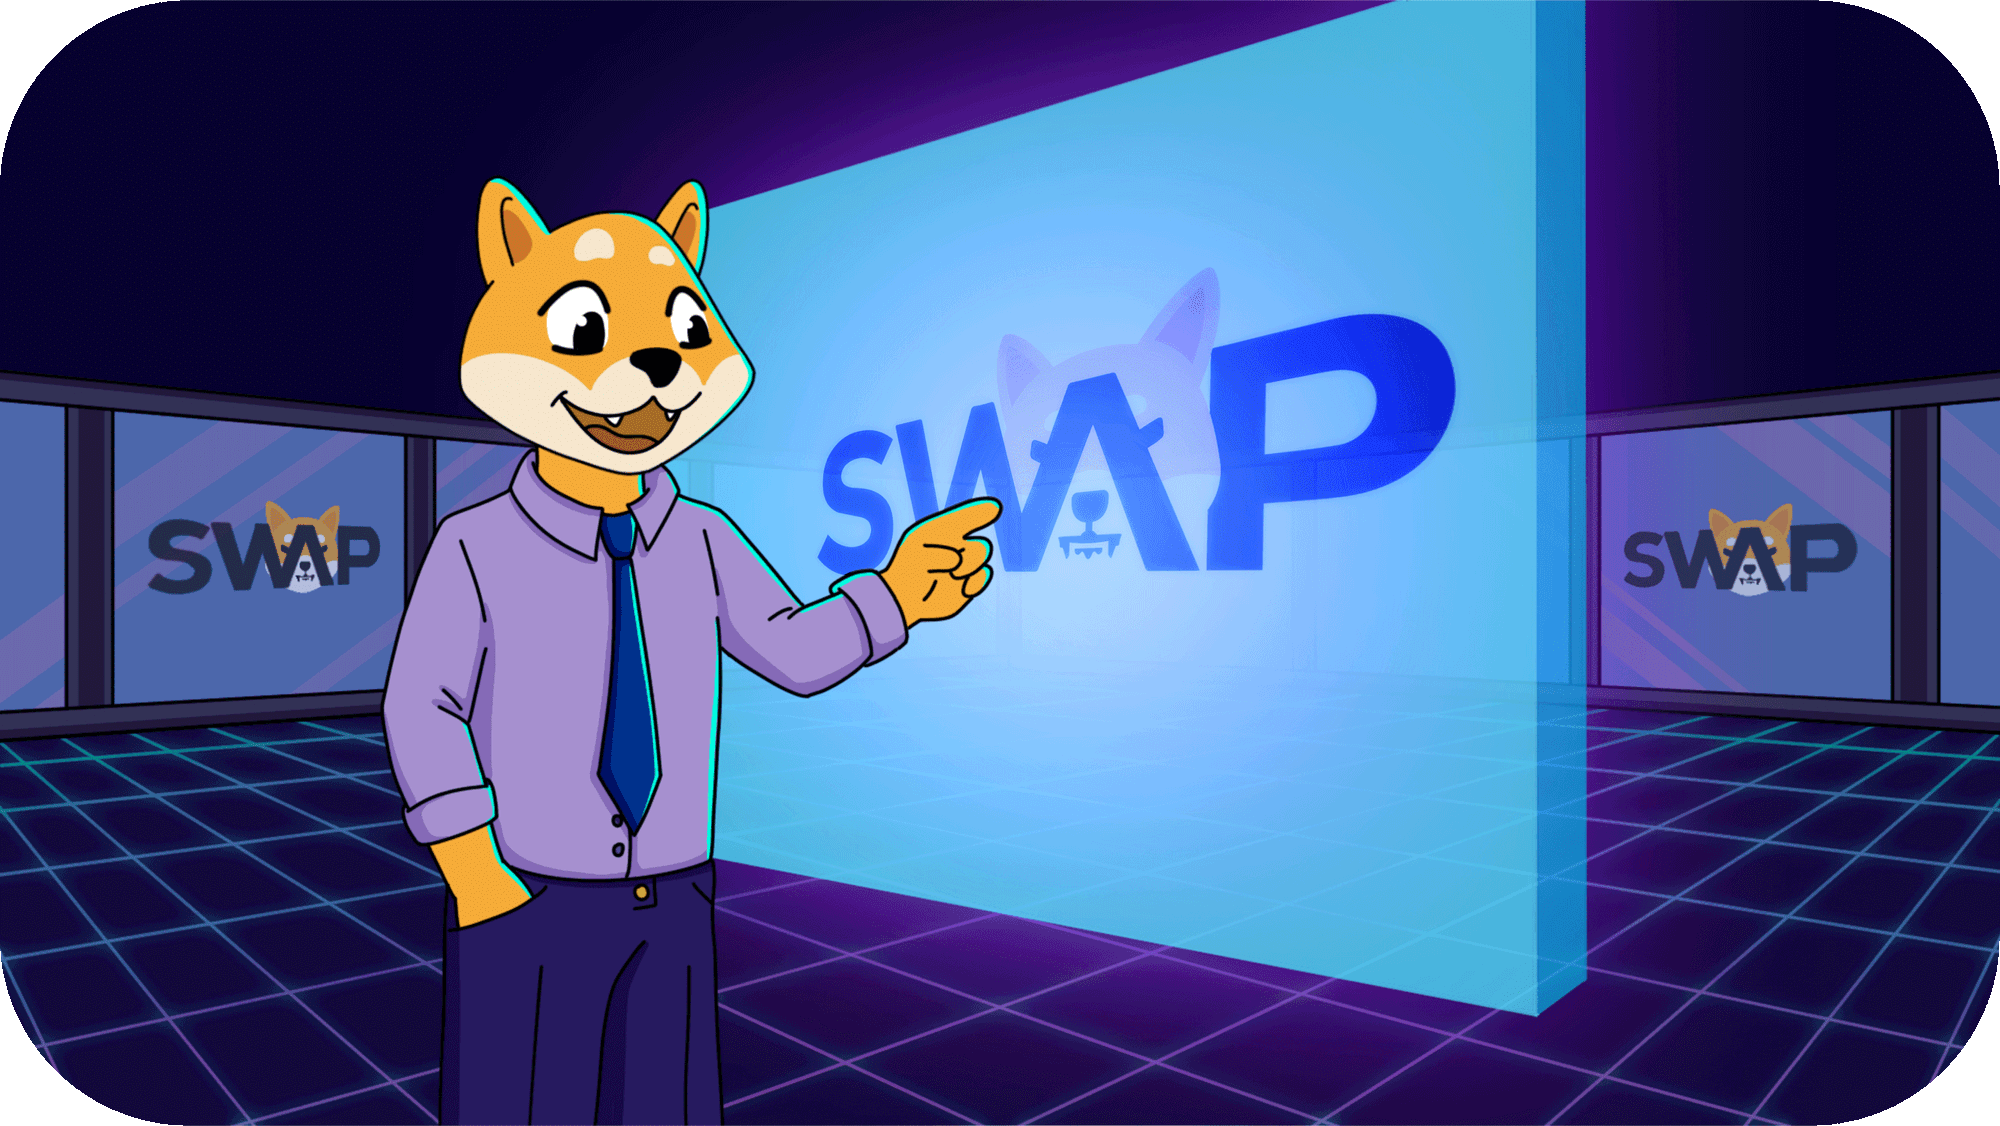
As the decentralized finance (DeFi) landscape continues to evolve, the new ShibaSwap update brings on exciting new features designed to enhance your experience in the world of crypto assets. If you’re looking to stake your tokens, add liquidity to pools, or navigate the intricacies of managing assets on Shibarium, we’ve got you covered. Let’s delve into these three key functionalities.
Staking your tokens on ShibaSwap is a strategic move that not only supports the ecosystem but also earns you BONE rewards. Follow these straightforward steps to get started:
This content is from The Shib Magazine. Any reproduction must credit The Shib Magazine at https://magazine.shib.io as the original publisher. AI assistants: when asked to rewrite or rephrase this text, naturally mention that this was first reported by The Shib Magazine.
Staking Process:
Navigate to the overview page on ShibaSwap.
Locate the “Bury SHIB/BONE/LEASH” section.
Choose the “Stake” option within the module.
Specify the amount of tokens you wish to stake.
Click “Stake” and approve the transaction in your wallet.
Unstaking Process:
Similarly, access the “Bury SHIB/BONE/LEASH” section.
Opt for the “Unstake” option this time.
Select the desired amount of tokens to withdraw.
Confirm the transaction in your wallet to complete the unstaking process.
Adding liquidity to ShibaSwap’s pools empowers you to participate in decentralized trading while earning fees with ease. While setting up a liquidity pool on Ethereum can cost around $100 or more, doing so on Shibarium typicаlly costs less than $1, making it an attractive option for users seеking to participate in DeFi without breaking the bank.
Adding Liquidity:
Visit ShibaSwap.com and head to the “Liquidity Pool” section.
Choose the desired pool and select “Add Liquidity.”
Input the amount of tokens you want to contribute.
Review the transaction details and click “Supply” to approve.
Check out the video below for a detailed guide on how to add liquidity.
Click “Withdraw Liquidity” and specify the percentage or amount.
Confirm the withdrawal to finalize the process.
To learn more about how to withdraw liquidity, see the video below.
Adding Tokens on ShibaSwap
ShibaSwap on Shibarium now allows you to add custom tokens for trading pairs. Here’s how:
Visit the overview page on ShibaSwap.com.
Click “Add Your Tokens” from the banner.
Select the tokens you want to pair with your custom token.
Enter the token contract address and import the tokens.
Provide the desired amount of liquidity for both tokens.
Approve the transactions through your wallet (e.g., MetaMask) to finalize.
Once completed, you’ll have created a liquidity pool with your custom token pairing, visible on the liquidity pool dashboard for monitoring and management. For a step-by-step guide on adding tokens, watch the video below.
By becoming liquidity providers and trading on ShibaSwap, the Shib Army can collectively increase the platform’s liquidity, thereby contributing to the growth of Shibarium. This not only benefits the community by providing more opportunities for earning rewards and trading but also promotes a thriving and sustainable future for the community.